GoHighLevel AI Studio Tutorial: Build and Publish Your First Project
A generated page can look finished while its form still sends nothing to your CRM. In this GoHighLevel AI Studio tutorial, we’ll build toward a working lead journey: a clear page, a connected form or calendar, and a test that confirms what happens after someone submits.
First, we’ll confirm access and create the initial version from a prompt, template, URL or image. After that, we’ll refine the page and connect the right HighLevel assets. We’ll use the preview domain to test the result on desktop and mobile before connecting your live domain.
Generate a focused first draft
Connect forms and calendars
Test, preview and publish
Official sources: HighLevel AI Studio guide
Related GHLFocus guides: AI Studio pricing · AI Employee pricing hub
Step 1: enable AI Studio and confirm your permissions
- Open the agency or location settings where AI Studio is available.
- Go to Labs and enable AI Studio if it is not already active.
- Confirm the user has either View or View and Manage access.
- Open AI Studio from the available HighLevel tools.
If you can see projects but cannot edit them, the problem is usually permission level rather than the project itself.
Step 2: Choose how to start
| Starting method | Use it when |
|---|---|
| Written prompt | You know the audience, page goal, sections and desired action. |
| Template | You want a proven structure and faster first draft. |
| URL | You want AI Studio to use an existing page as inspiration. |
| Screenshot or image | You have a visual direction but no working page. |
A URL or screenshot is not an exact-cloning instruction. Expect a new interpretation that still needs review.
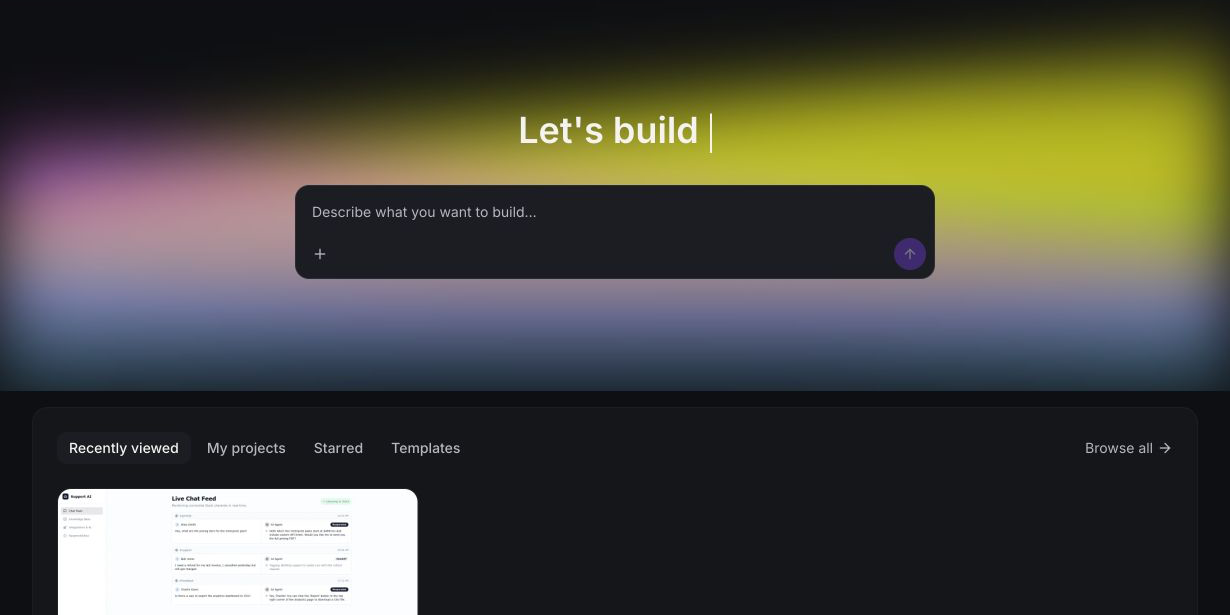
Step 3: Write a better first prompt
Include the information the builder needs to make structural decisions:
- The business and target audience
- The single conversion goal
- The required sections
- Brand colors, typography direction and tone
- The main call to action
- Mobile priorities
- Forms, calendars or other HighLevel assets that will be connected
Example prompt: Build a clean mobile-first landing page for a local roofing company. The goal is to book a roof inspection. Include a concise hero, trust section, three services, process, FAQ and booking call to action. Use dark green, white and a bright green accent.
Step 4: Refine the first version
Review the page in this order: structure, conversion path, mobile layout, copy, spacing and then visual polish. Rewriting everything at once consumes more AI usage and makes regressions harder to spot.
- Use Visual Edits for simple text, spacing and style changes.
- Use the Code Editor only when the visual tools cannot produce the required behavior.
- Use version history before a major redesign.
- Check the page title, description and on-page headings for SEO.
Use the HighLevel AI offer to test the complete workflow
Create, connect and publish one real page so you can judge the builder by the finished result.
Affiliate disclosure: GHLFocus may earn a commission at no extra cost to you if you sign up through this referral link.
Step 5: Connect forms and calendars
A generated form or calendar area is not automatically connected to the right HighLevel asset. Open the integration or connection setting, choose the correct form or calendar and submit a real test entry.
Confirm that the contact, opportunity, notification and follow-up workflow are created correctly. If the page needs WordPress data or another external system, our WordPress to GoHighLevel integration service covers the connection layer.
Step 6: Test the project before publishing
- Check desktop, tablet and mobile previews.
- Open every button and navigation link.
- Submit each form with a real test contact.
- Book and cancel a test appointment.
- Review the contact and workflow results inside HighLevel.
- Check page title, meta description and social preview.
- Review loading speed and large images.
Step 7: Publish to preview, then custom domain
Publish to the AI Studio preview domain first. Share that version internally and complete final checks. When it is ready, connect the custom domain, choose the primary URL and confirm any alternate URL redirects correctly.
For usage and plan details, read our GoHighLevel AI Studio pricing guide.
AI Studio tutorial FAQs
Can AI Studio import an existing website exactly?
No. A URL or image provides inspiration. The generated project still needs review and refinement.
Can I edit the project with normal HighLevel funnels?
No. AI Studio projects remain in AI Studio and do not transfer into the standard Sites or Funnels builders.
Why is my form visible but not creating contacts?
Confirm the form is connected to the correct HighLevel asset, then test the submission and workflow separately.
Should I publish directly to my main domain?
Use the preview domain first. Connect the live domain only after forms, links, mobile layout and tracking pass.
Want us to build the first project with you?
We can turn the idea into a tested AI Studio page and connect the form, calendar and lead follow-up.
2 Comments