How to Book Appointments with GoHighLevel Calendar: Transform Lead Management
Learning to book appointments with GoHighLevel calendar is a breeze if you have an agency or a business. It can be so frustrating to book appointments with multiple leads. Fortunately, GoHighLevel calendar simplifies the process and you can easily schedule appointments without any juggling.
So, in this comprehensive step by step guide, we will see how to set up a functional GoHighLevel calendar and optimize it to book multiple leads effortlessly.
Let’s dive in!
Why Book Appointments with GoHighLevel Calendar?
Can you imagine that your calendar can automatically fill up with booked appointments without your constant replies to emails or phone calls? Following are some basic features of GoHighLevel calendar:
- The calendar allows the leads to book appointments directly without your hassle to schedule them manually while being in constant touch with the leads.
- Obviously, when the booking process is smooth and the leads do not have to wait for your replies, their conversion rate to confirmed appointments will be much higher.
- You get automated reminders and notifications so that neither you miss an appointment nor does your potential customer.
- It allows you to customize everything from mentioning booked slots to adjusting time zones and much more.
How to Set Up Your GoHighLevel Calendar for Multiple Leads
Now let’s discuss step-by-step, how to set-up your GoHighLevel calendar to book appointments with multiple leads.
Step 1: Access Your GoHighLevel Dashboard
- Make sure you have an active GHL account and login with your credentials.
- Once you reach the dashboard, click on the “Calendar” or “Appointments” section. This is where all the magic happens.
Step 2: Configure Your Appointment Settings
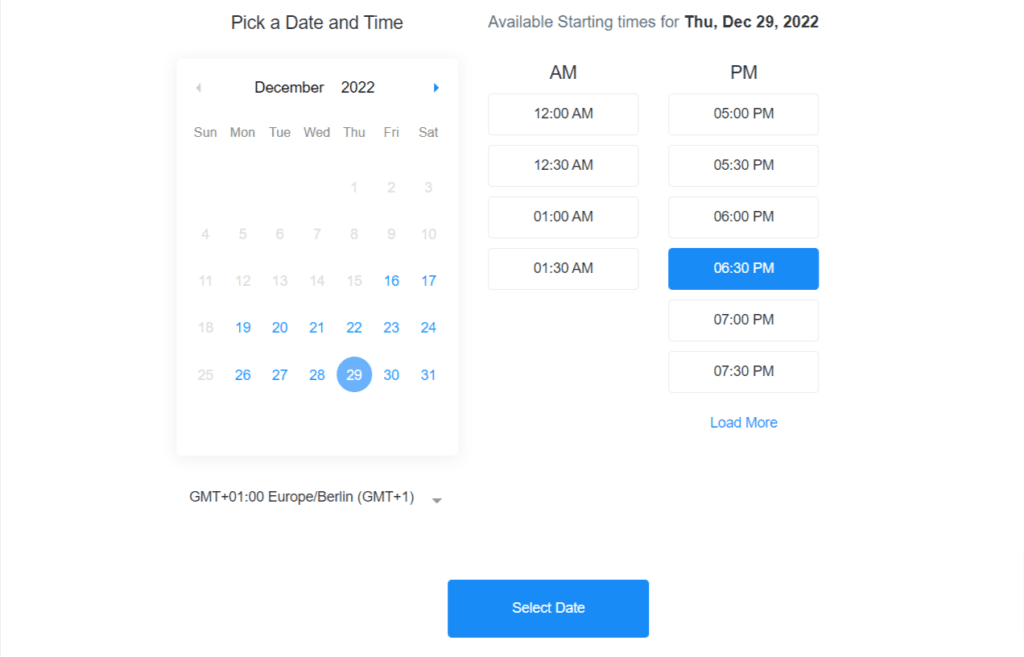
- Now it’s time to configure your appointment settings. First of all determine days and times when you are available for meetings. You can create different time slots to accommodate multiple time zones if your leads are from different regions.
- Do not forget to mention buffer times between meetings so that you get some breathing room between meetings and to avoid mixing up the appointments.
- You can also define the duration of each meeting and its purpose as well like consultation appointment or follow-up meeting etc.
Step 3: Customize the Booking Page
- If you want to personalize the look to keep the same brand image, you can customize the booking page by adding a logo, adjusting colors and layout so that it connects with your company.
- Explain clear instructions on the booking page so that the leads know what to expect from your side. You can also add Call-to-action buttons to make the process more smooth and efficient.
- You can embed the booking page in your website or share a direct link with the leads which will make it much easier for them to follow, making it more user-friendly.
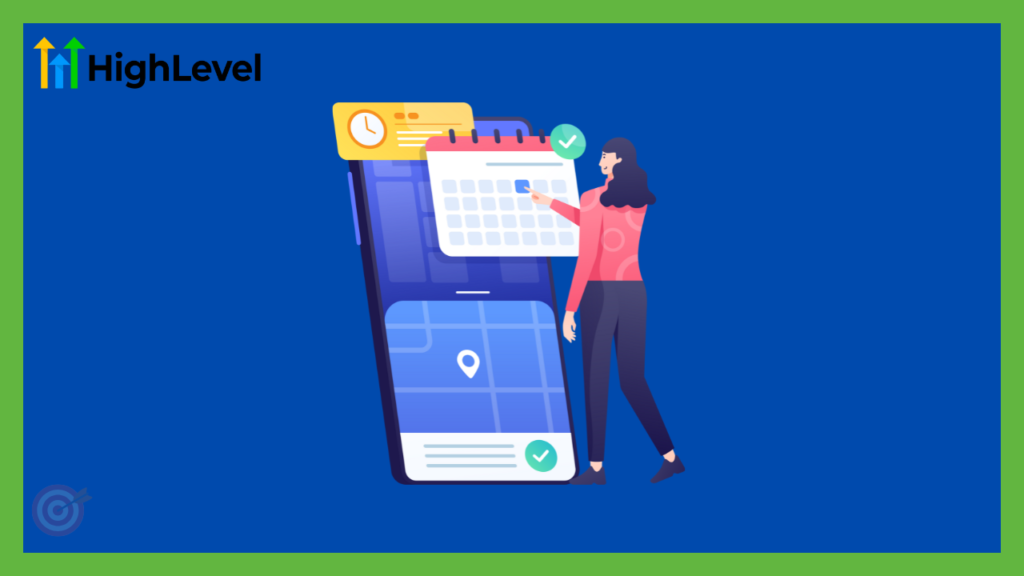
Step 4: Enable Multiple Leads Booking
- Set up your GoHighLevel calendar to allow multiple bookings in a single day. Also if you have team members which can also handle meetings you can define overlapping availability as well.
- When a lead books an appointment, an automated confirmation message through e-mail or SMS will be sent out to both you and the lead. It will automatically update your calendar and reassure the client that the appointment has been booked.
- GoHighLevel allows to integrate calendars with other tools like CRM or email marketing tool to automatically update lead records and send follow up messages.
Step 5: Test and Optimize
- Before going live, run a test appointment to ensure everything works as expected. Check for proper time zone handling, notification triggers, and data synchronization.
- Ask a few trusted leads or team members to test the booking process and provide feedback. Small tweaks can often lead to big improvements in user experience.
- Use GoHighLevel’s built-in analytics to track appointment bookings, cancellations, and no-shows. This data can help you optimize your available slots and follow-up strategies.
Tips for Maximizing Your Appointment Booking Success
- Keep It Simple:
Keep your booking page simple and clutter free so that the leads can easily understand and book meetings. - Set Clear Expectations:
Include clear instructions or SOP’s for meetings, appointment duration or cancellation policies or any other important information or guidelines that client must know before meeting. - Regular Updates:
If you have any change in your appointment policies or time zones, update your calendar to ensure that it’s still aligned with current working hours or services. - Follow-Up Automation:
Remember you can always send automated messages like a simple thank-you email/SMS or service satisfaction surveys to strengthen the relationship and improve lead engagement.
Wrapping it Up
Learning to book appointments with GoHighLevel calendar is a game changer for your business. It not only saves you from the headache of constantly keeping in touch with the lead to confirm appointments through emails or phone calls but also lets the potential clients have a seamless booking system without having any confusion.
With the help of GHL calendar’s awesome features you can customize your availability, define multiple time zones, have a refined booking page and integrate multiple tools to enhance lead engagement and a better customer experience.
We hope this guide was helpful enough to enable you to use and optimize GoHighLevel calendar. If you want our services to do all the hardwork for you book a free 30-min session with our experts!
Still wondering if GoHighLevel is a right fit for your business? Try this free 14 day trial and experience all the features yourself!
Also, want to know if the GHL is a better marketing automation platform or ManyChat ? Read our article here!
Happy marketing!
One Comment